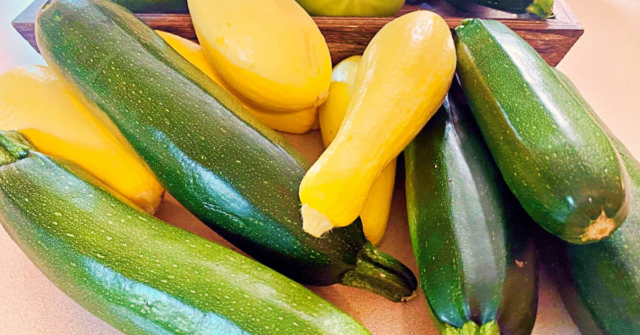
If you’re a gardener like myself and love to grow summer squash like yellow crook neck and zucchini then you’ll love this method for preserving your summer harvest in your freezer. You’ll be able to enjoy it for months to come after the harvest is over.

Can You Freeze Summer Squash?
Great news friends, the answer is yes! You can easily preserve your freshly grown garden harvest of yellow or zucchini squash so that you can enjoy it for months to come.
Long after the summer temperatures and garden is gone you’ll be able to pull out your squash and enjoy that fresh taste of summer all over again.
It’s easy to prep the squash for the freezer and we’ll go through how I do it here in this post. You can either follow my breading directions or use your own favorite breading mixture.
Then I’ll cover how to cook the squash when you’re ready to enjoy it from the freezer. While it might not be exactly the same texture as freshly picked and cooked squash, you’ll be glad you thought ahead to freeze it.
Just think of it like this, it is delicious and while you might have to wait until the next harvest season for freshly picked squash, your frozen option will get you through until then!
Do You Have To Blanch Squash Before Freezing?
To make sure the summer squash doesn’t get mushy, some people opt to blanch the freshly sliced squash before they freeze it.
They even go as far as to say that if you freeze it raw and unblanched that the texture will be way off when you thaw and cook it.
But I’ve done this method many times with my squash, both yellow and zucchini, and I never blanch mine before freezing it and I’ve never felt like it made my squash mushy after cooking it.
However, I will say this, I always cook my squash from frozen, I never thaw then cook it because naturally when the squash thaws it will release water and dampen the breading on the squash.
I find that cooking it straight from frozen it gets crispy and the texture is soft and supple but not mushy. So if you want to take that extra step of blanching the squash you can totally do that, but I don’t find it necessary at all.
For those that want to blanch it, you’ll just slice your squash and drop it into boiling water to blanch for about 1 minute. Then remove it from the water and place it into ice water to stop that cooking process.
Let it cool then you can move forward with your next steps of breading about getting it ready for the freezer.

How To Prepare Squash For Freezing
I usually prep summer squash two ways for the freezer. First I do a lot of it breaded and ready to fry because my husband and teenage son prefer fried squash over any other way.
So being able to prep it for the freezer and have it for many months down the road to just pull out and fry is a blessing for sure.
Plus half the trouble of frying squash is getting all the stuff set up for your breading station before you can even start frying and this method saves you that step when you are ready to pull it out and cook it!
How awesome is that? I can’t tell you how much time it has saved me on the nights I’ve pulled it out and cooked it, especially because you don’t thaw it, just straight into the frying pan or air fryer and you’re set!
Here’s what you’ll need:
- Freshly Picked Squash: you can do this method with any summer squash so don’t limit it to just yellow or zucchini. The main thing you’ll want to remember and keep in mind is that it needs to be squashed at its peak of freshness. When freezer product it is crucial to only use fresh so that it lasts longer and will be the best quality product when you pull it out to cook it.
- Breading Ingredients: I like to bread my yellow squash in corn flour or corn meal and my zucchini in a mixture of corn flour and all-purpose flour. However, I’ve also done some in a low-carb fashion and used pork rind crumbs. All you need to do is to choose your favorite option, if you don’t follow my suggestions in the recipe card, then season it up with all your favorite spices like salt and pepper, garlic powder, etc.
- Egg Wash: I use an egg wash made from several eggs and a bit of water or milk mixed in. I add the eggs to a shallow dish and add a dash of water or mix. Beat well and set it up near your breading mixture of choice. You can skip this step if you want to but we really like the way the breading stays on the squash when you are cooking it and it also helps the squash hold its shape and texture after being frozen.

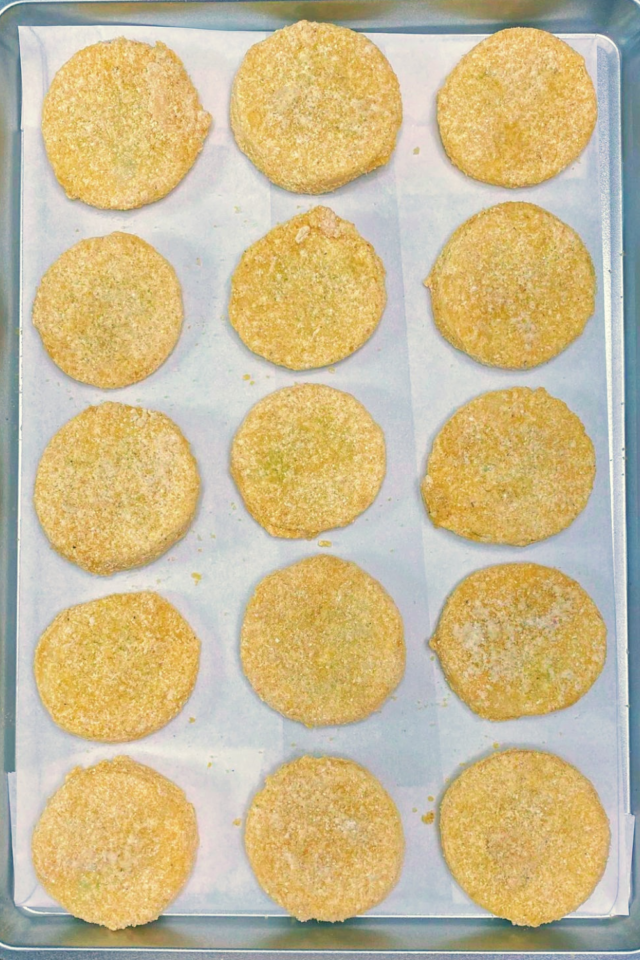
- Baking Trays: You’ll need to have a few baking trays ready to use in your breading process. This will be important as your dip the squash into the egg wash and then the breading you’ll want to lay the breaded summer squash in a single layer on the trays so you can freeze them without them touching. Depending on how much squash you have you may need several baking trays or prepare to do your squash in several batches.
- Silicone Mats or Parchment Paper: I recommend lining your baking trays with silicone baking mats before layering on the breaded squash because it will prevent any of the slices from freezing on the baking sheet. If they freeze to the tray you chance pulling the breading off when you remove them later once they are frozen. You can also use parchment paper to line your trays also if you do not have any Silicone Baking Mats.
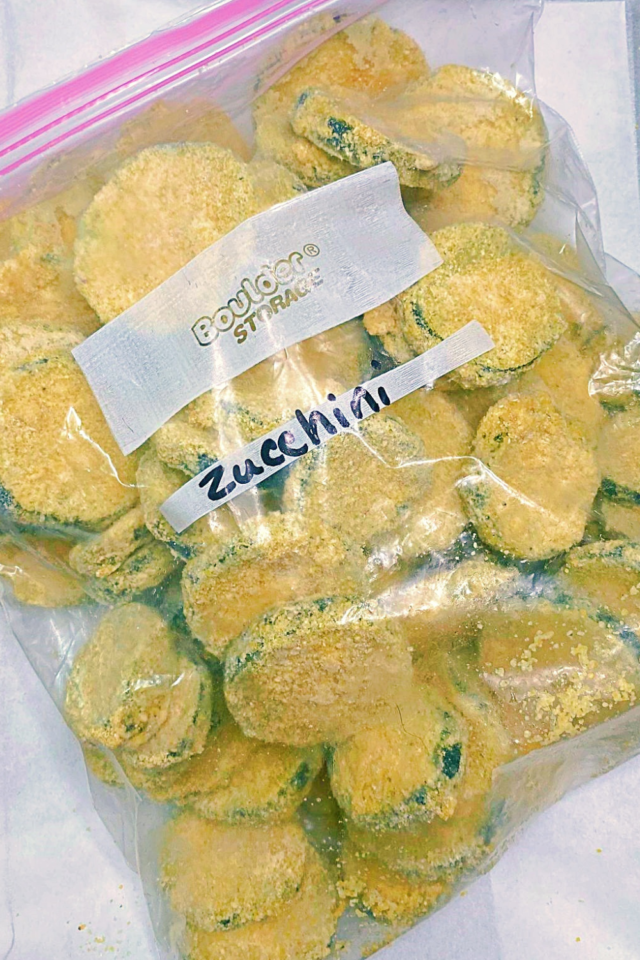
- Gallon or Quart Size Freezer Bags: After your trays of squash are frozen solid it’s time to remove them from the freezer and you can portion them into bags. Just use good quality freezer bags so your squash doesn’t get freezer burned as it stays in the freezer until you need it. You can just fill each bag with however many pieces of squash you think you’ll need for yourself or your family. Make sure you write on your freezer bags with a freezer sharpie before you fill them with the squash so you’ll know what is in the bag and the date you’re freezing them.

How Long Does Frozen Squash Last In The Freezer?
The frozen summer squash will last for up to 10 months in the freezer if you make sure to use a thick wood-quality freezer bag or some airtight freezer containers.
The most important thing is to keep it protected from freezer burn and random smells that may be floating around your freezer.
I’ve also used my food saver and vacuum sealed them before in family-size portions and that worked very well and kept the squash perfectly safe and fresh in the freezer all winter.
But to be honest most of the time I don’t drag out my food savers and just opt for the freezer bags. So I’ll leave that option up to you and how much time you have to prep your squash on the day you work on it.

How To Cook Frozen Summer Squash
I’ve found that the best way to prepare frozen summer squash is to cook it immediately from its frozen state. I’ve tried thawing it and it ended up not as crispy and a little more mushy.
So I prefer to prefer my large skillet with my favorite cooking oil, typically olive oil or coconut oil, and let it heat up as I’m pulling out some tongs and my frozen squash.
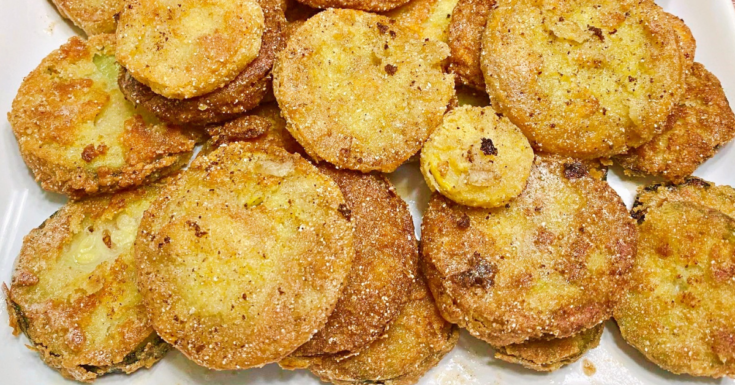
When the oil is hot carefully add the frozen squash pieces to the skilled and cook them until they are golden brown then flip and brown the second side.
This process takes about four to five minutes per skillet full. You don’t want to crowd your skillet so continue to fry your squash in batches until you’ve cooked the portion you pulled out from the freezer.
I like to keep my squash in the freezer in between batches so it doesn’t start to thaw before I’m ready to start the next batch.
Can I Fry Summer Squash In The Air Fryer?
Yes! While we all know nothing beats frying things in oil on the stovetop, you can totally opt to skip that step and fry this squash in the air fryer.
My family prefers it fried in oil but let’s face it sometimes, especially if you are cooking a large batch, the process of standing over a hot skillet and oil can be time-consuming and tedious.
So even though they prefer it oil fried, they never turn it down when I make it in the air fryer either. It’s super easy to cook it too.
I again start from frozen, no need to thaw. I spray my air fryer tray and lay out the slices of squash. Then I spray both sides of the squash with cooking spray before I start the air fryer.
This will prevent it from sticking and helps it crisp up some as it cooks. I’ve found it doesn’t get quite as crispy in the air fryer as it does fried in oil but it does really nicely nonetheless.
In my air fryer, I use the French Fry Setting (which is 430 degrees Fahrenheit) and cook the squash for about 5 minutes on each side.
So start our cooking them for 5 minutes on the first side, then flip and cook them for another 5 minutes. Since air fryers vary in temperature and cooking times you may want to keep an eye on them to make sure they don’t burn.
Or if needed cook them a little longer until they reach your desired level of golden brown!
Server and Enjoy!

How To Freeze Summer Squash
This is a simple process of preserving summer squash by breading it and preparing it for the freezer.
Materials
- Fresh Summer Squash, washed
- Whole Eggs
- 2 tablespoons of water or milk
- 1 cup of corn meal
- 1/2 to 1 cup of all purpose flour
- 1 teaspoon of salt
- 1/2 teaspoon garlic powder
- 1/2 teaspoon onion powder
- 1/8 teaspoon black pepper
Tools
- Baking Trays
- Parchment Paper
- Bowl for Wed Ingredients
- Bowl for Dry Ingredients
- Freezer Bags
- Freezer Pen
Instructions
- To begin make sure your summer squash has been washed thoroughly and dried.
- Slice each squash into slices that are about 1/2 of an inch thick. Continue this until all is sliced. Set aside.
- In a bowl, you will need to add a few eggs and the water and beat well until all is incorporated. Depending on how much squash you are breading you can start with 3 to 5 eggs. Set aside.
- In another bowl add the cornmeal, flour, and all the seasonings and stir to combine thoroughly.
- Arrange your breading station from left to right: sliced squash, then your egg wash, next your corn meal mixture, and lastly your parchment paper lined baking trays. This will make the process easier and it will go much quicker.
- Start by dropping several pieces of sliced squash into the egg wash. Coat well. A handy trick is to use the same hand for the wet and the same hand for the dry mixture each time so it will not make your hands as dirty and caked with the batter.
- After you coat the squash slices in the egg wash carefully move them over to the cornmeal mixture and coat both sides.
- Next, lay the breaded squash on the lined baking trays in one single layer. When you have a tray loaded place it in the freezer to freeze then continue the process until you are done with all your squash.
- Once the squash is frozen solid, remove the trays from the freezer and portion the squash slices into the freezer bag that you have labeled with the contents and the date you are freezing. You can use quart or gallon-size bags depending on how you prefer to store them.
Notes
See the blog post above this "How To" card to get more tips and details on how to preserve your summer squash as well as some cooking tips.
I am a southern girl through and through that loves to laugh, cook, read and spend time with family. My passions outside of home schooling my son are ministering to those in need and creating art in the kitchen! Every day is an adventure in our little house and I wouldn’t trade it or the chance to share here with you for anything!
I made this and love it. I keep adding to my previous prepared bag of frozen breaded squash. I made the recipe as is and fry from frozen. It’s a great way to preserve your squash. I also grate some and freeze (for baked goods) and purée. I haven’t used the purée as much but understand it makes a great mock pumpkin pie. But, by far, this is the recipe I use most. Just take however many pieces you need for supper and fry from frozen. Has no mush and tastes like freshly cut out of the garden and freshly breaded.
I’m so glad you’ve found this method helpful Teresa! I’m actually doing some today for the freezer since my yellow squash is taking over right now lol. Thank you for the tip about the “mock” pumpkin pie, I’ll have to check that out!